- Style
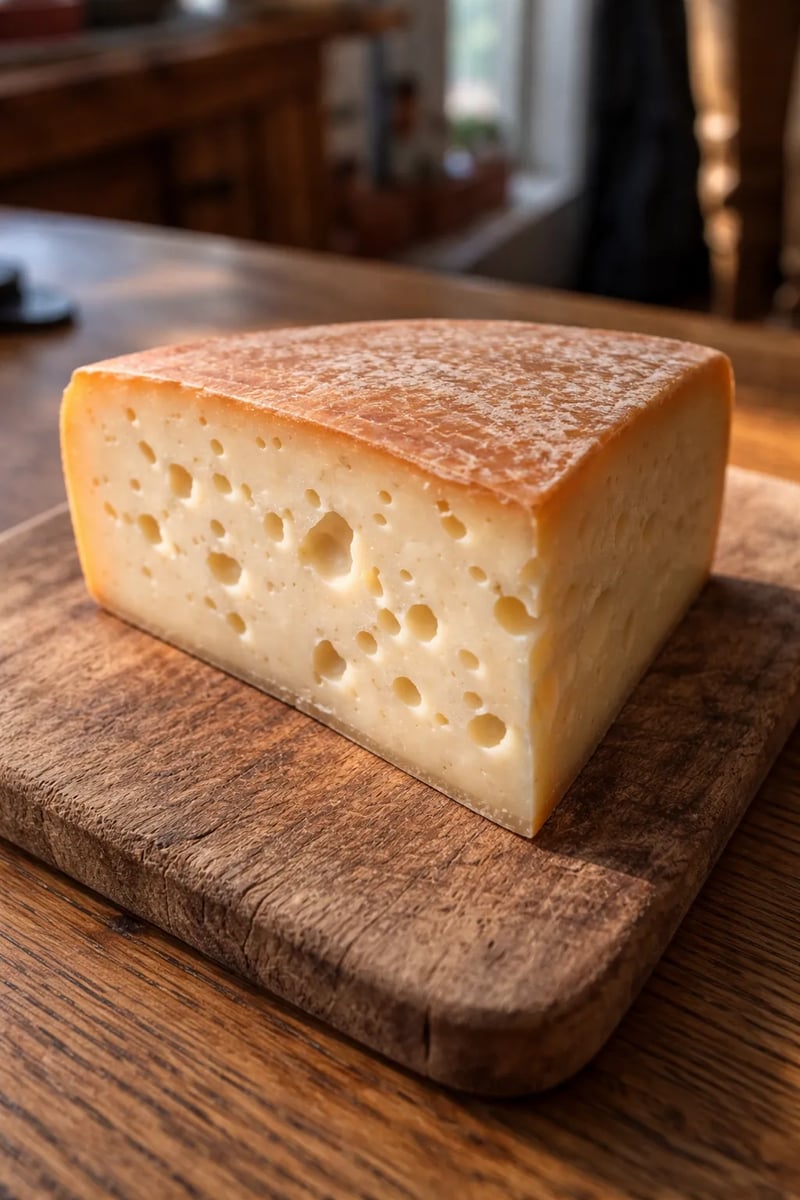
- Tilsiter-style cheese
- A Recipe by
- Christof
- Yield
- 1.8 kg
- Aging Time
- 2 months
- Skill Level
- Intermediate
Originating in the mid-19th century in the town of Tilsit (formerly East Prussia, now Sovetsk, Russia), Tilsiter is a cheese born of cultural fusion. It was first developed by West Prussian immigrants who sought to recreate the flavors of their homeland using local ingredients. Today, it remains a beloved staple in Switzerland, Germany, and across the Baltic region.
What Makes Tilsiter Unique?
Tilsiter is a semi-hard, smeared-rind cheese known for its characteristic "eyes" - small, irregular holes scattered throughout the paste. Unlike the perfectly round eyes of Emmental, Tilsiter’s holes are formed by the way the curds are loosely packed into the molds.
What to Expect
Making Tilsiter at home is a rewarding challenge for the intermediate cheesemaker. It requires patience and a bit of "stinky" maintenance, but it's so worth it!
Flavor: Depending on how long you age it, expect a profile that ranges from mild and creamy to bold, spicy, and pungent.
Texture: It has a wonderful "spring" to it - firm enough to slice for a sandwich but supple enough to melt beautifully over potatoes or dark rye bread.
The Rind: You will be performing regular "schmearing" (washing the rind with a salt-brine solution), which encourages the growth of Brevibacterium linens. This gives the cheese its rustic, orange-hued exterior and that signature aromatic punch.
Ingredients
Instructions
1 Mixing and Pre-Ripening
- Combine the 12L milk and 3L water in your vat.
- Gently heat the mixture to 30–32°C.
- Stir in the 750ml of starter culture.
- Cover and let the milk sit (pre-ripen) for 2 hours.
2 Renneting
- Slowly increase the temperature to 34°C.
- Add 45 drops of rennet (dilute them in a little cool, non-chlorinated water first for better distribution). Stir thoroughly for 1 minute, then stop the motion of the milk.
- Let it sit undisturbed for 45 minutes until a "clean break" is achieved.
3 Cutting and Resting the Curd
- Check the curd with a knife. If it snaps cleanly, use a cheese harp to cut the curd into 0.5 cm cubes.
- Let the curds rest for 30 minutes. This allows the curd surfaces to "heal" and firm up before stirring.
4 Cooking
- Begin stirring slowly. While stirring, gradually increase the heat to 42–45°C.
- Once you reach this target temperature, continue stirring at that constant heat for another 15 minutes. The curds should become springy.
5 Molding
- Using a large slotted skimmer or cheesecloth, lift the curds out of the whey.
- Allow the excess whey to drain off quickly and immediately transfer the curds into your pre-warmed cheese molds.
6 Pressing
- Apply an initial weight of 500g per kg of cheese (since 15L will yield roughly 1.5–1.8kg of cheese, start with about 0.75kg to 1kg of weight).
- Flip the cheese regularly (e.g. at 30 mins, 2 hours, 6 hours). Increase the pressure slightly with each turn.
7 Acidification & Drying
- Leave the cheese in the mold for 1 full day at room temperature to continue acidifying.
- Remove it from the mold and let it sit for a second day out of the mold.
8 Salting and Affinage (Aging)
- Rub the entire surface of the cheese with coarse salt.
- Place the cheese in your ripening room (ideally 12–15°C with high humidity).
- Daily Maintenance: Flip the cheese every day and rub with a red smear solution - usually a light brine (3% salt) sometimes inoculated with Brevibacterium linens.
- Ripening Time: 6–8 weeks.